This step is not quite as fun as pressing and drilling but is a necessary process to give some extra structural integrity to your book. The place holder ribbon is not required but it is easy to do and adds a bit of pizazz you book.
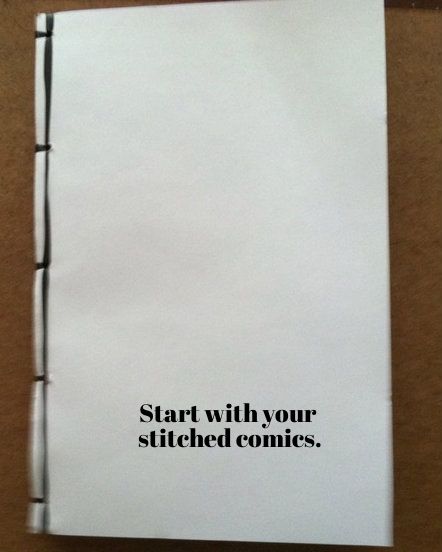
Double check your pressed and stitched stack one more time to make sure everything is in order. As I have said earlier, almost nothing is unfix-able, but now is the best time to catch an error.
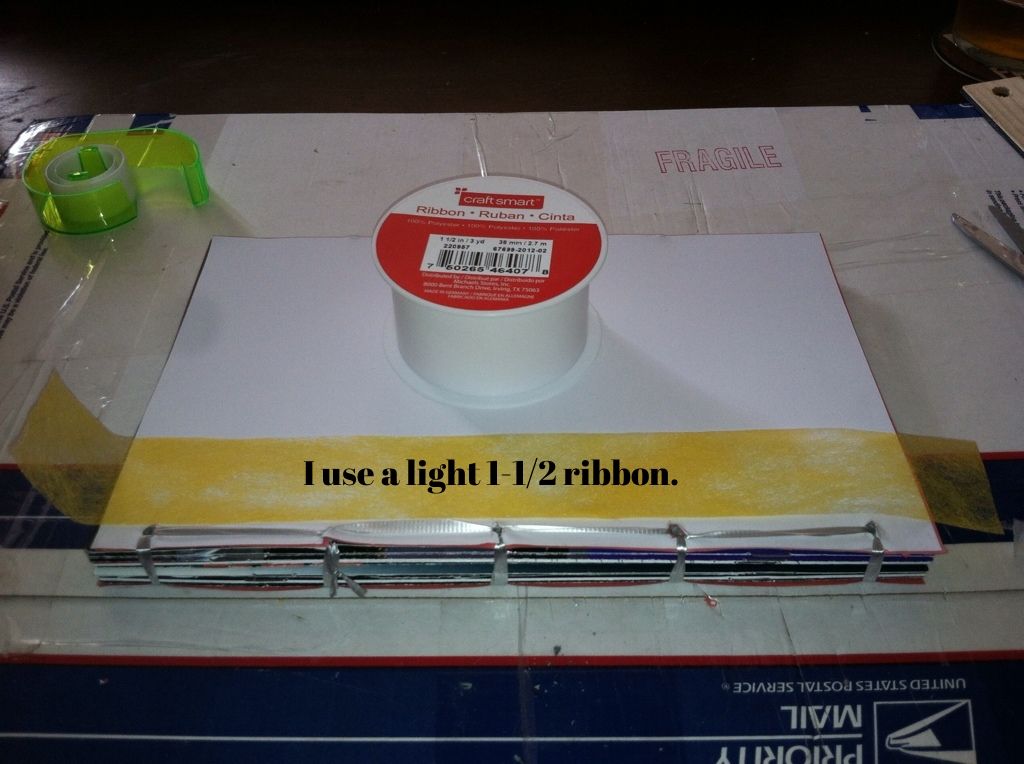
For the spine ribbon, I prefer a loose light ribbon that I get from the dollar bin at Micheals. it seems to adhere better than dense ribbon and is easier to work with.
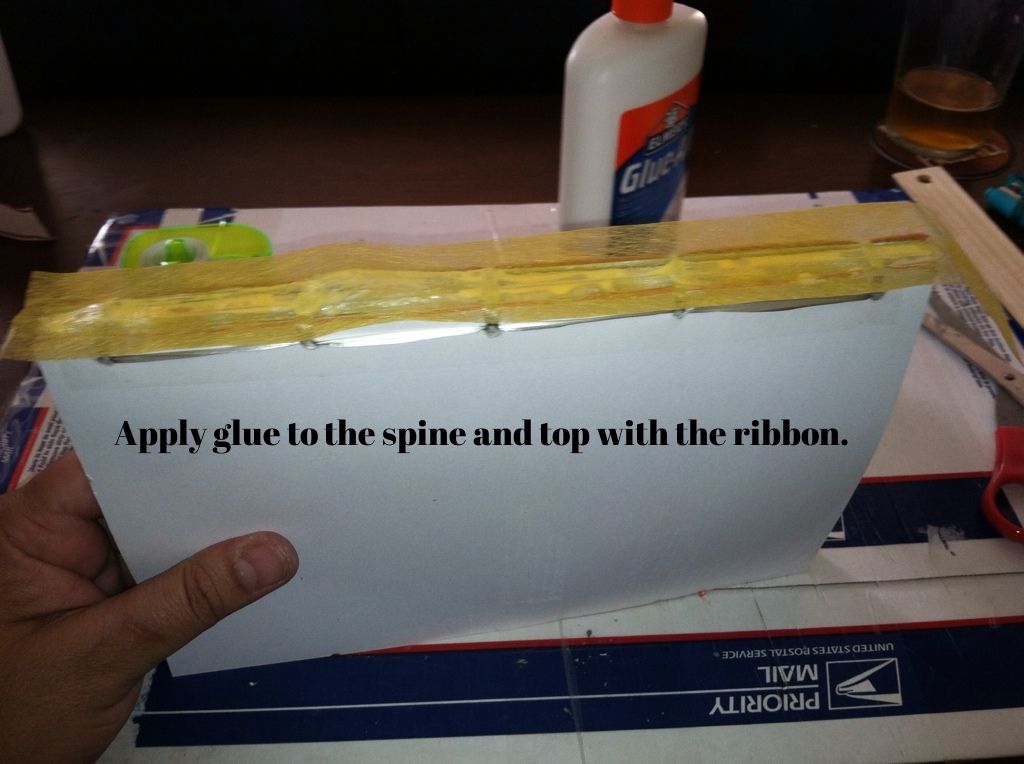
Apply a lot of glue to the spine and top it off with the ribbon. Don't worry too much about overflow. it will be used to adhere the sides of the ribbon to the front and back of the bind.
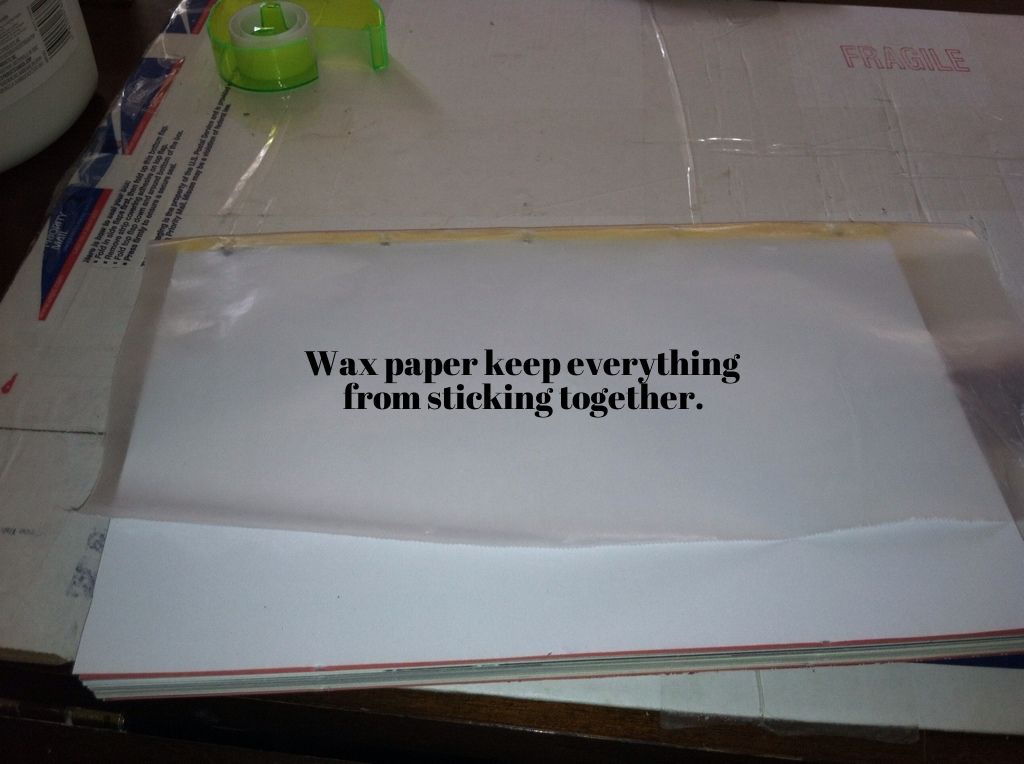
Wrap up the bind with wax paper. It excess glue will not stick to it! I then put the bind on a hard flat surface and put a heavy book on top (I use my Kiss Kompendium. It's big and heavy).
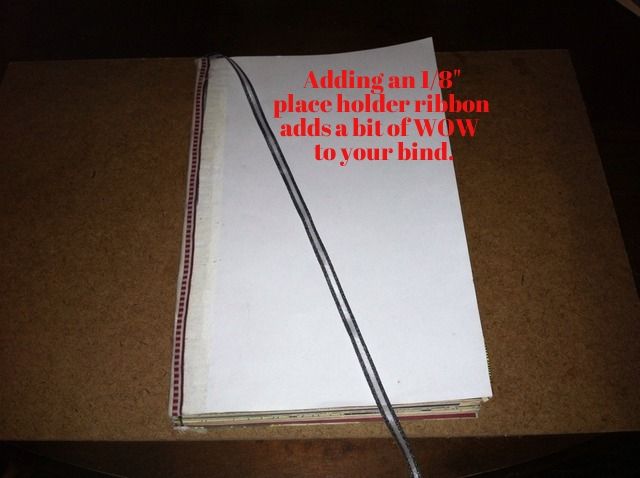
I used to then add a 2nd denser spine ribbon and glue in a place holder ribbon, but I have decided to do away with the 2nd ribbon and insert the place holder with the original spine ribbon. If you bind is over 12 to 14 issues, you may want to consider adding a 2nd ribbon to the spine.
Like I wrote earlier, this is not the most fun step but it is in many ways the foundation of your bind.
Thanks for checking my tutorial out and don't hesitate to ask questions.
Bean
No comments:
Post a Comment