I use a modified version of Japanese Stitching on my binds. You can google search or youtube many tutorials on the process. Most of the official tutorials on Japanese stitching are more conscious of keeping knots and lines clean, but this is not as important for comic binding. Any knots or lines are hidden once the bind is complete. I will ultimately upload a video of my process, but in the mean time, here are some photos of my process.
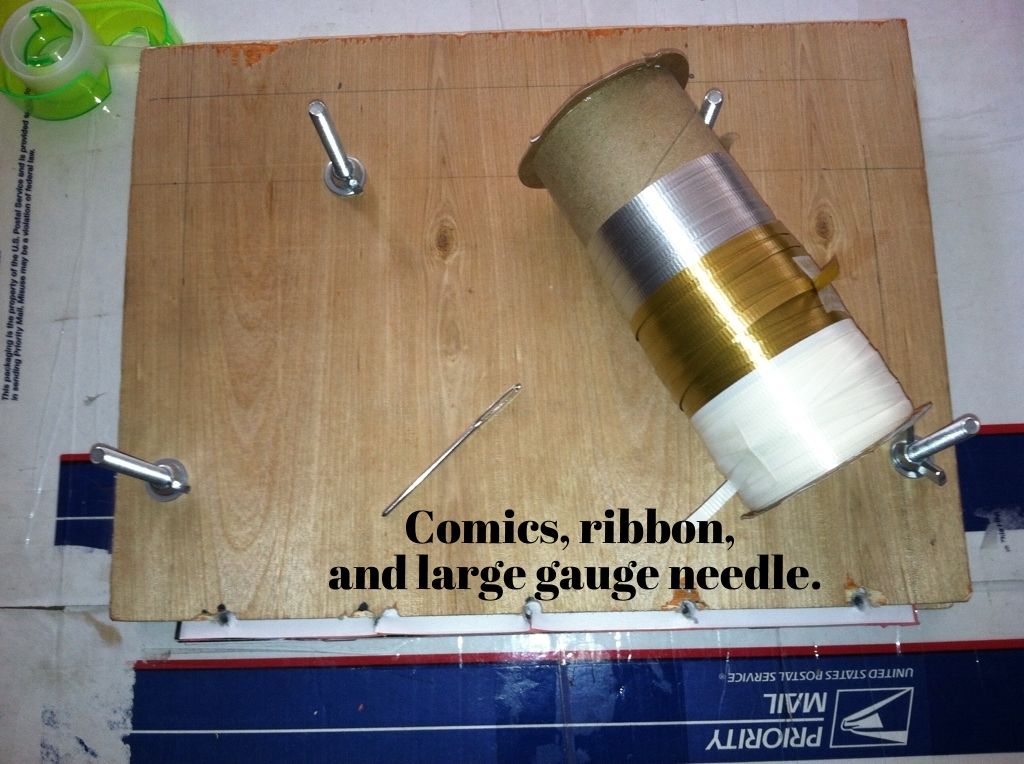
Get a large spool of 1/8" plastic ribbon from Dollar Tree. I don't know the exact gauge of the sewing needle but it is about 2-3/4" long and 1/16 thick. The needle can be picked up at Michael's (use your coupons!)
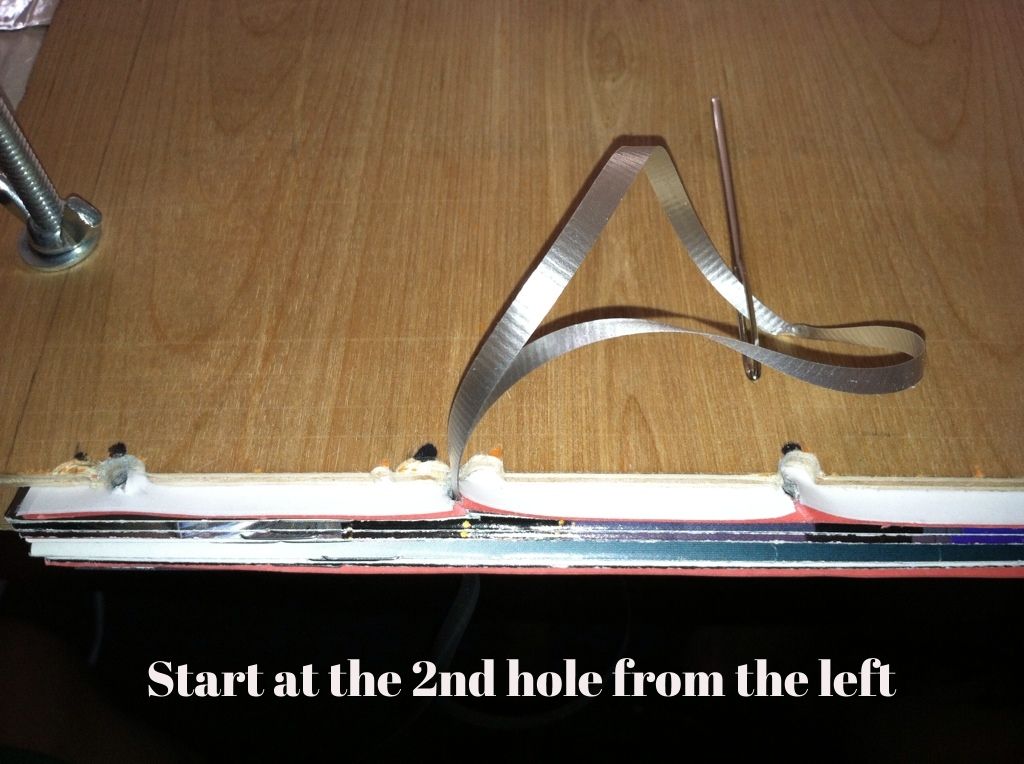
Measure out approximately 4 times the length of your comics in ribbon. Thread the needle and start up through the 2nd hole from the left. Loop around once and then move on to the 3rd hole from the left.
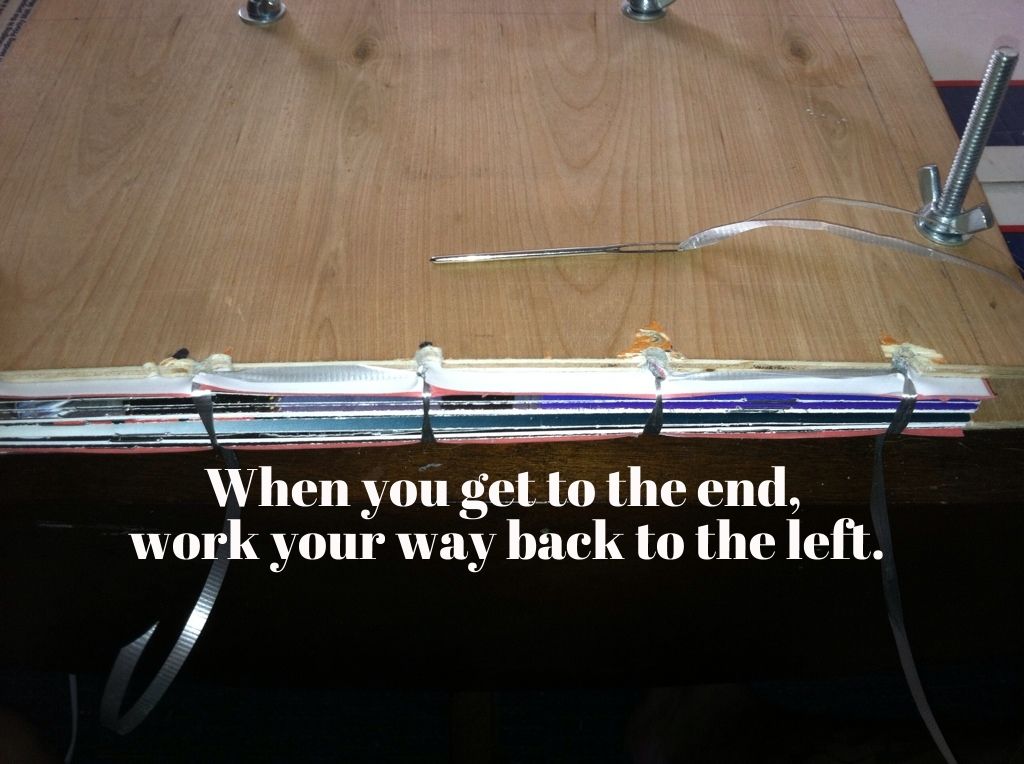
Once you get to the last hole, work your way back to the left. You may need pliers to help coax the need through the holes. Don't forget that tighter is better.
Keep working left and when you get to the last hole move back to your starting position (the 2nd hole from the left).
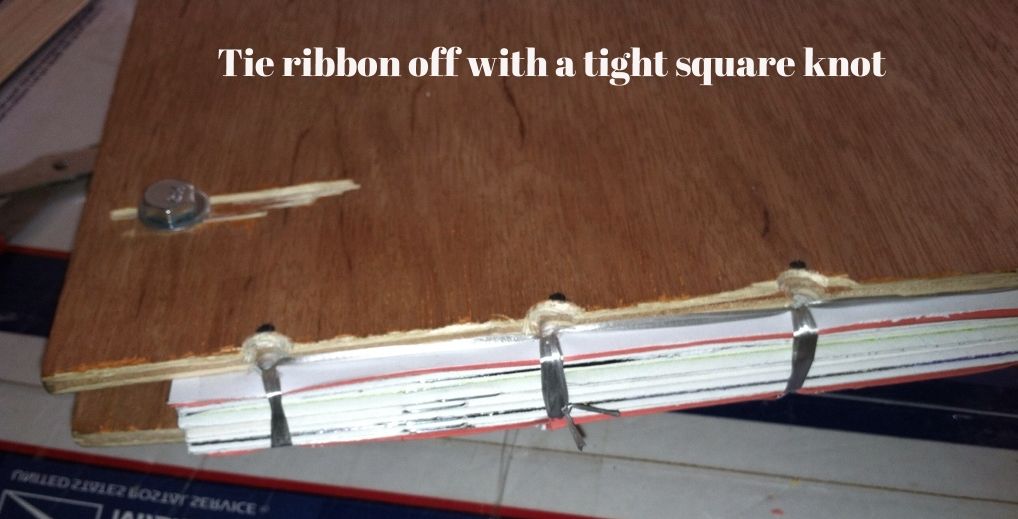
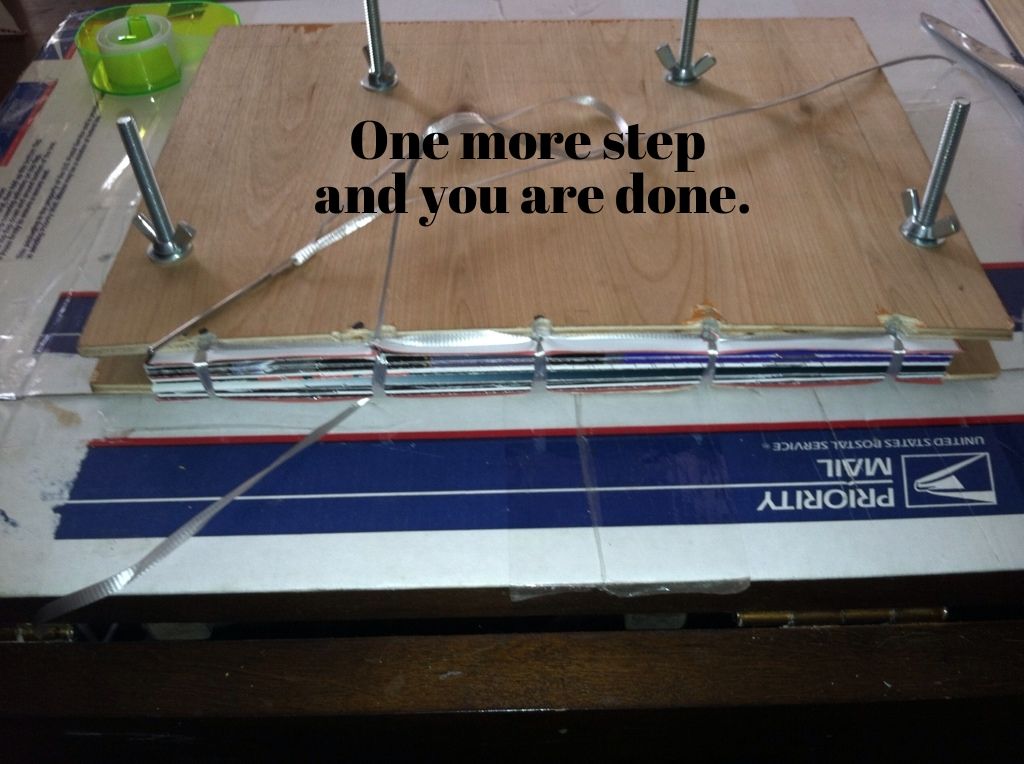
All stitched up and time to tie off your ribbon. Note: the comics have been in the press the whole time. This allows you to keep the bind tight and square.
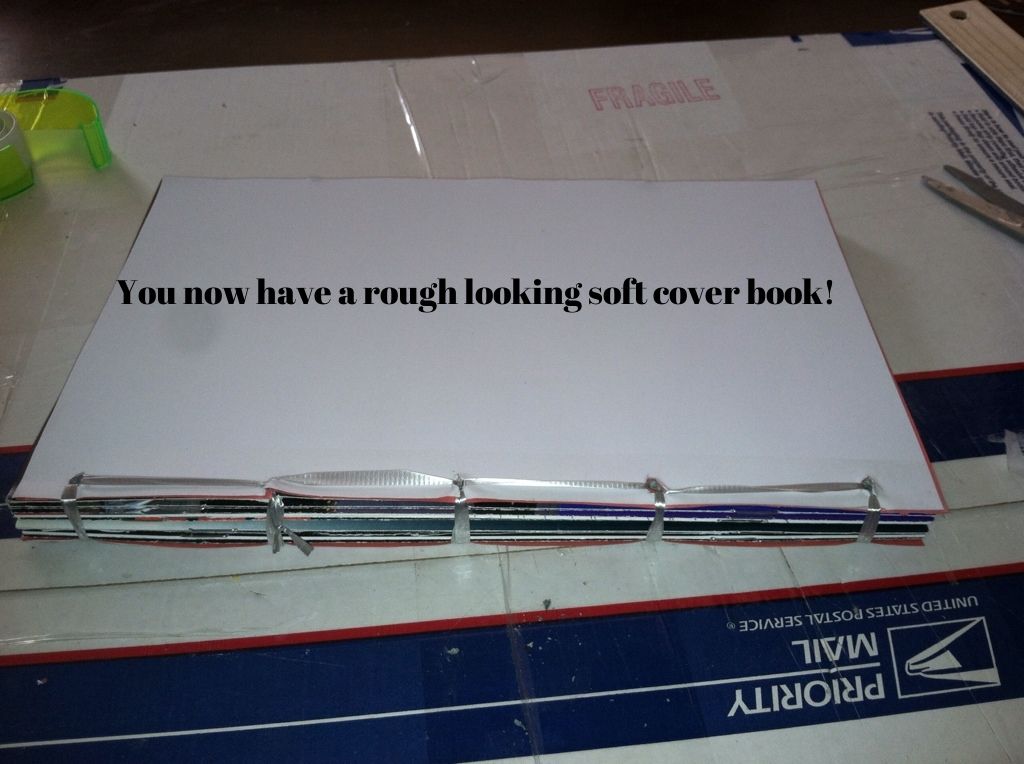
You now can loosen your wing nuts and pull your book out. Yes, it is now a book. We still have a bit of work to go before you can put it on your bookshelf but you are almost halfway to having your own custom bound hardcover collection!
Please don't hesitate to leave any feedback and thank you for visiting the site.
Bean
No comments:
Post a Comment