The first step is to prep and cut end papers for your book. The outer most end paper will be glued to your cover and anchors the bind to the chipboard. I originally used paper on the outside and then a card-stock end paper but I soon found out that the more sturdy card-stock works much better as the anchor.

6 to 15 issues seem to be the sweet spot for me. I have gone up to 20 issues for my Kamandi bind, but this is a bit more cumbersome than I like.
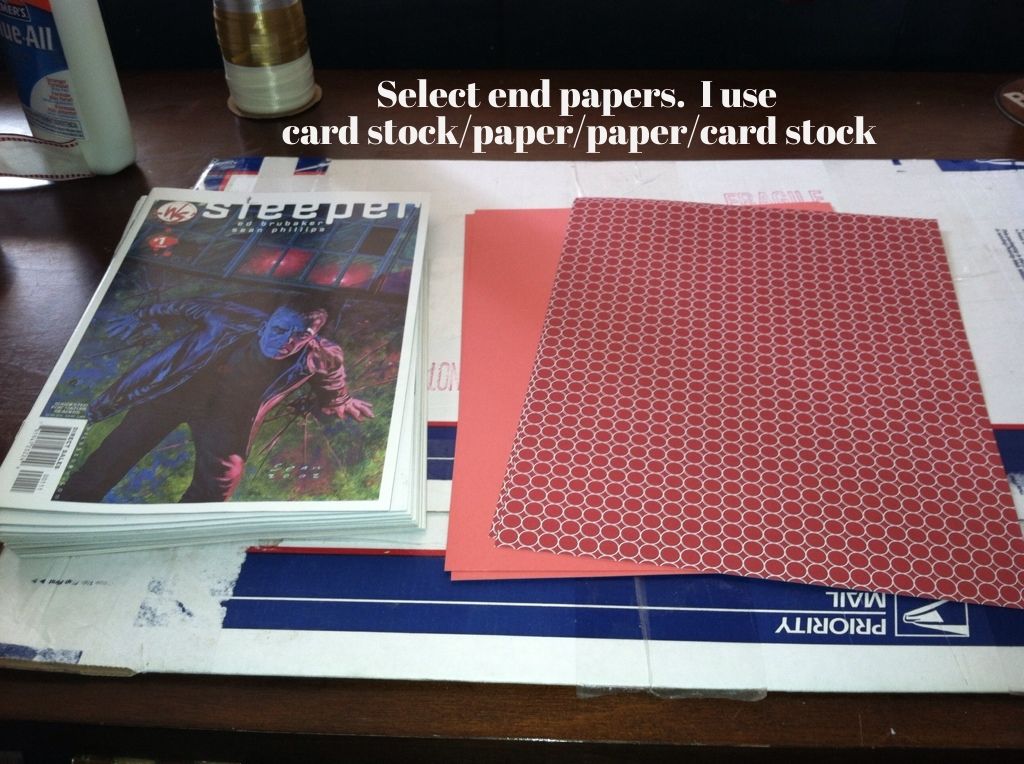
Card-stock and colorfully patterned paper can be purchased at Michael's. Remember ALWAYS use a Michael's coupon. They are easily found on the Internet and they will scan them straight from your phone.
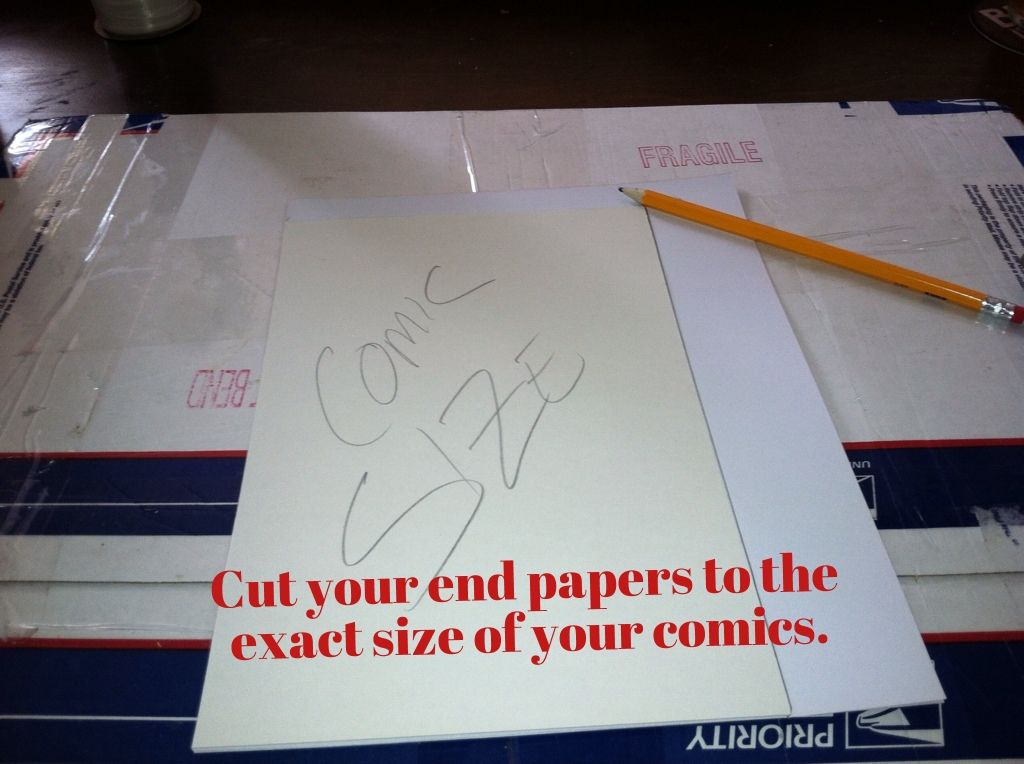
I use an old backer board for my comic size and cover size templates. Double check your comic size though. Some comics are bigger than others. My Thunderbolts run has two different heights due to changes that Marvel was trying at the time.
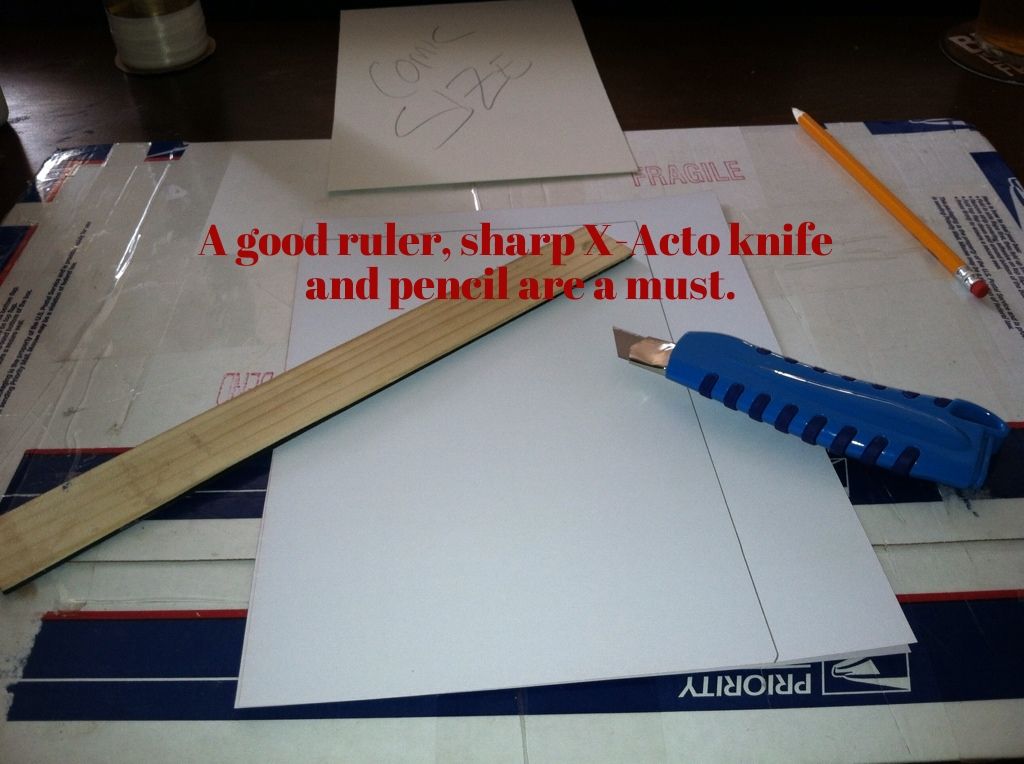
Note: I use an old USPS Priority box or piece of tempered hard board as a mat so I don't damage my table.
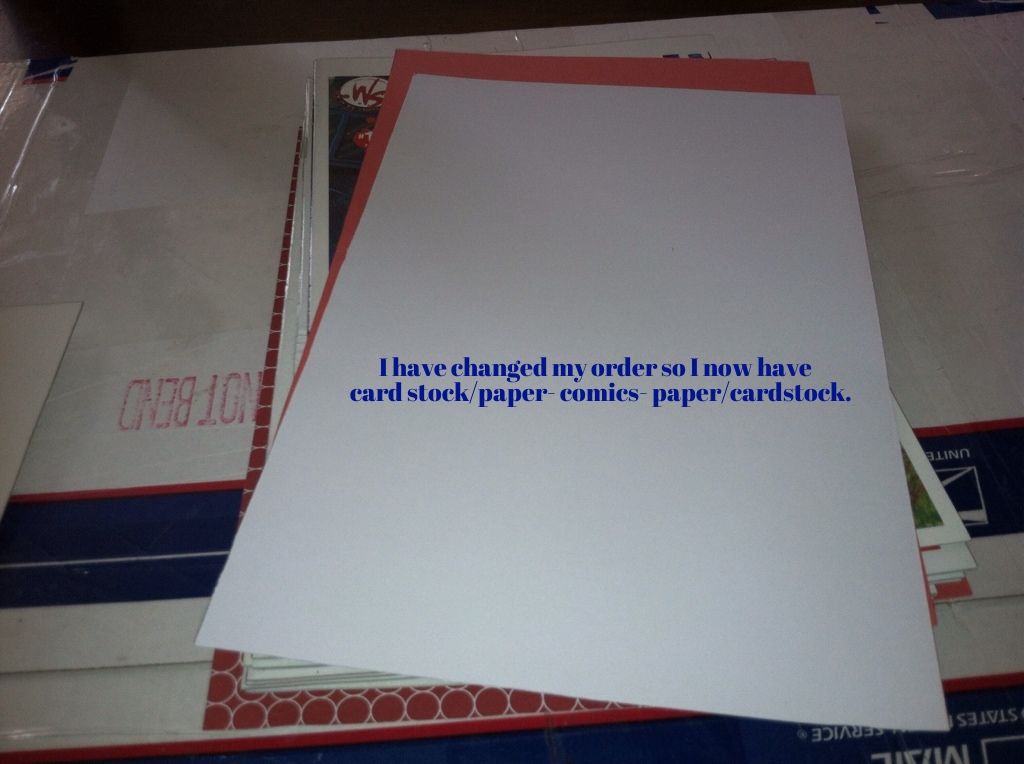
Don't forget, I suggest card-stock/paper-comics-paper/card-stock. Also, double check that your comics are all in order and facing the right direction.
Now you have a book ready to be pressed, drilled and stitched.
Bean
No comments:
Post a Comment